Difficulty Level (Easy, Medium, Hard, Insane):
Medium
Process:
I bought a 4x36 Delta belt sander off kijiji for $25 and once I got it all cleaned up and plugged it in, it took less than 30 seconds for the motor to go up in smoke.
At first I thought it was just some sawdust burning but the motor was completely fried. After some research in rewinding motors I decided not to pursue that avenue but instead see if I could take one of my 1/2hp motors I had lying around and adapt it to my belt sander.
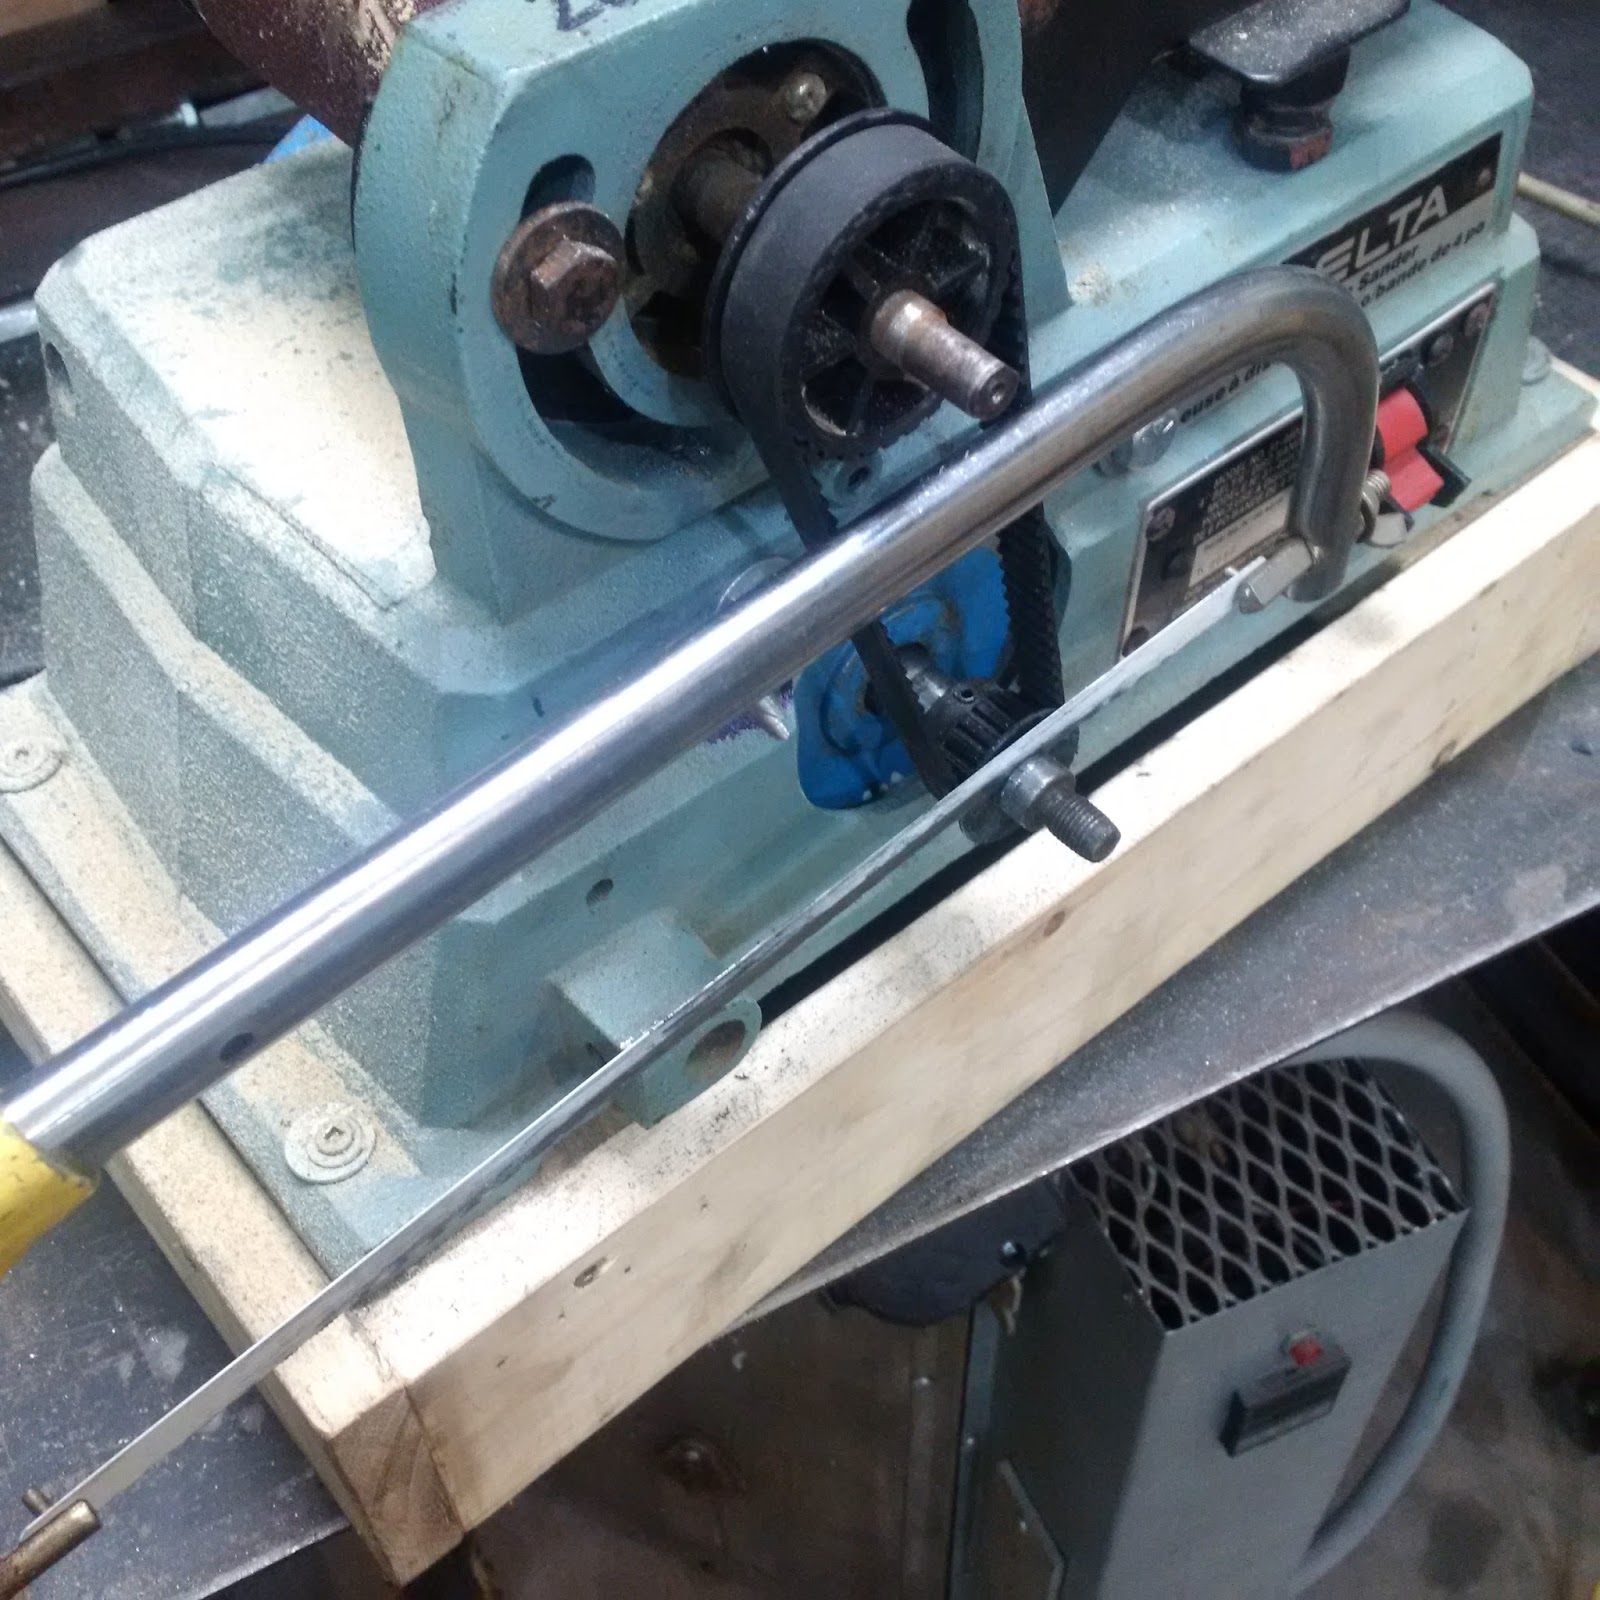
After turning down the motor's flange on the lathe, I cut a hole into the case of the belt sander, drilled some holes for mounting bolts and mounted the water pump motor into the housing of the belt sander.
The next thing I had to do was to hook up the wiring, drill a cross hole to the belt gear and set it with a 1/8" roll pin.
After that I built a pedestal around the base of the belt sander because the water pump motor was larger than the base.
The last thing I had to do was to cast and turn a disc for the 6" side sander. That part turned out to be a bit tricky. I ended up having to do it two times because for the first one I drilled a hole that was too large, then I wanted to fix it by pressing a matching plug into the bored hole with my
20-ton DIY Shop Press and re-drill it at a smaller size but I cracked the flange because I didn't support the part properly (I just learned the first lesson when it comes to shop press useage)
After I finished the disc and installed it on the belt sander, all that was left was to install the sand paper on the disc and I was done.
Pictures:
 |
| Close-up of the model |
 |
| Motor specs |
 |
| The burned out motor |
 |
| The belt sander after I took out the dead motor |
 |
| All the parts that came off |
 |
| The burnt wiring |
 |
| Close-up of the burnt wiring |
 |
| Pressing the rotor out of the motor housing |
 |
| The order for the drive belt |
 |
| The original drive belt |
 |
| Getting ready to install the motor in the cut-out sander base |
 |
| Fitting the motor into the sander base |
 |
| Turning the face plate of the motor flat |
 |
| Another view |
 |
| Fitting the motor into the sander base |
 |
| Another view |
 |
| The installed motor with the wood base |
 |
| Another view |
 |
| Getting ready to wire up the motor |
 |
| Another view |
 |
| The finished belt sander sans side disc |
 |
| Another view |
 |
| Turning the side disc |
 |
| My son helping me out |
 |
| Using a 10mm end mill to drill the hole |
 |
| Accidentally drilled the hole too big |
 |
| All I had was some square stock |
 |
| Turning down a plug to press fit into the hole that was too big |
 |
| The finished plug |
 |
| Turning it down to size |
 |
| Chamfering the plug |
 |
| After I cracked the disc hub during press-fitting the plug into the undersized hole |
 |
| Drilling a hole through the motor shaft and pulley, then installing a 1/8" roll pin |
 |
| Cutting off the excess of the motor shaft |
 |
| Installing the drive belt guard |
 |
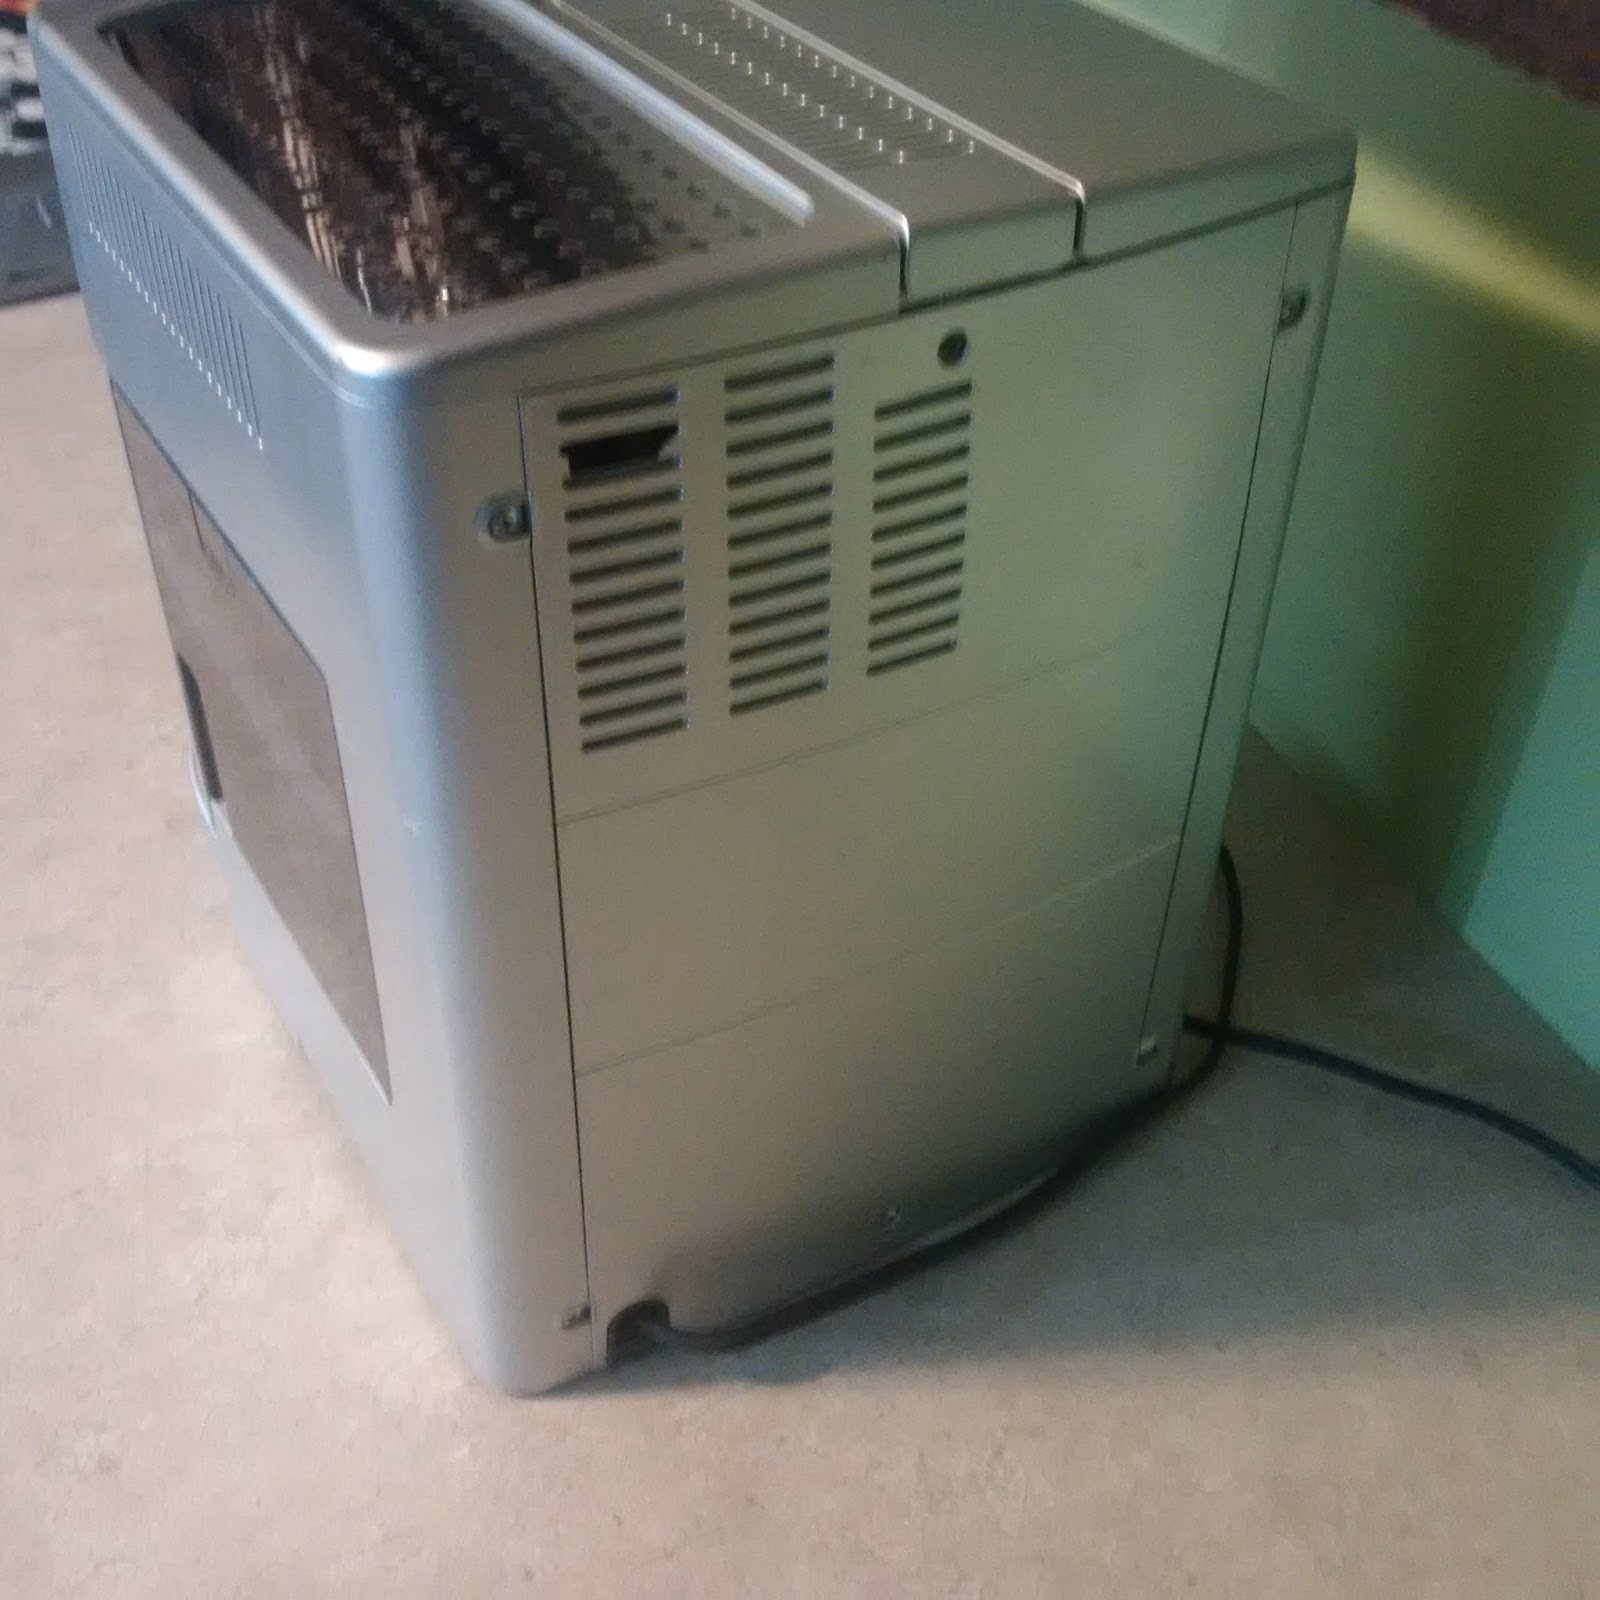
| The back side of the belt sander |
 |
| Starting to drill the hole on the second version of the side disc |
 |
| Another view |
 |
| The finished side disc |
 |
| The back side of the finished side disc |
 |
| Test-fitting the side disc |
 |
| Tapping the hub for a set screw |
 |
| I had to grind a slot into the end of the tap so I could use a screwdriver to tap the hub |
 |
| Tapping the hub with a screwdriver |
 |
| Test fitting the side disc with a 5" PSA sanding disc |
 |
| Another view |
 |
| The back side of the sander |
Tools:
Aluminum foundry & accessories
Propane burner
Metal lathe & accessories
Metal band saw
Cordless drill
Screw drivers
Ratchet & socket set
Table saw
Chop saw
Angle grinder
Eye & ear protection
Hammer
Air compressor
Air nailer
Materials:
1/2 hp water pump motor
3ft of 2x4 lumber
Nails & screws
Wood glue
2 lbs aluminum
One drive belt
Cost:
$20.00
Time:
5 hrs
Savings:
$120
Conclusion:
It works great. I've already used it several times


