Friday, July 3, 2015

Building A Swing Bed For My Wife

Project:
Building a Swing Bed for my wife's Backyard Sun Shade Pergola

Difficulty Level (Easy, Medium, Hard, Insane):
Medium

Process:
This one was actually a bit tricky for two reasons:

1. I wanted the swinging mechanism to be nice, smooth and quiet
2. I wanted to be able to turn the swing bed into a regular width swing

I decided to accomplish #1 by not using chains but to use bearings instead. Except for it took a little "Eigenheering" (as a friend of mine calls it) to get the support brackets just right. I could have just bought the ready-made bearing supports from Princess Auto but I didn't want to spend $120 on that alone so instead I bought 8 bearings for a couple bucks each and another $10 bucks worth of iron. And, now I can support at least 1200 pounds on those supports...

The bed frame was definitely a bit tricky because I'm chopping out a square piece in the middle essentially leaving two corners unsupported. So I had to do some doubling up of the 2x4's to make it strong enough.

The last thing I had to do is fit some cross-braces in the roof beams and cut 4 holes through the shade cloth (after I sewed a circle around the hole to prevent from tearing)

Now it's being used a lot and it definitely scored me some brownie points with my wife!

Videos:

Pictures:
The "Eigenheering" diagram
After all the pieces were cut up
Starting the substrate/framing
The frame taking shape
Adding the arm rest support structure
Placing the back rest boards
Starting on the sitting area
The removable insert with the angle iron slides
Close-up of the center insert sliding mechanism
Almost done
With the center insert removed
Bending and welding the iron support brackets
The four support brackets when the welding was finished
Test install before painting
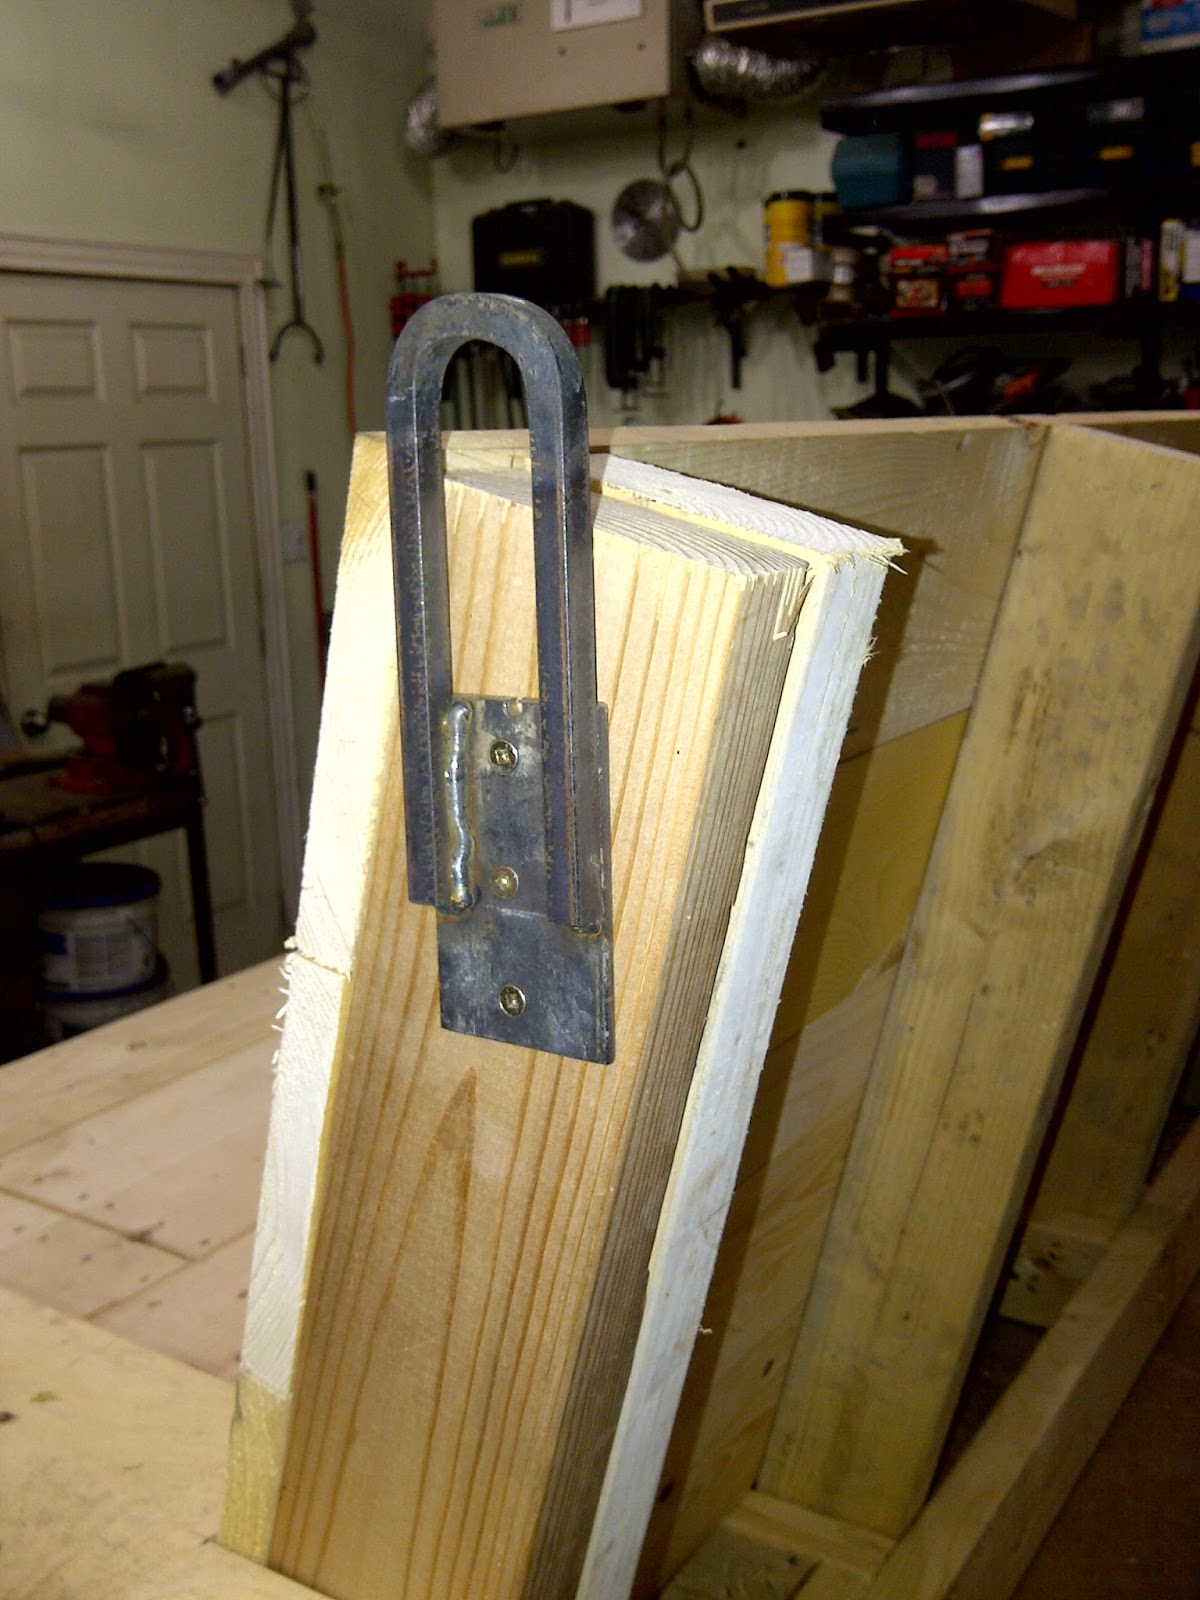
The support bracket at the back
Done and ready to hang
Placing it in its final position so I could mark out the support beams
Starting on the vertical rods
Welding some washers to the square tubing to make it stronger
All done
Close-up of the supporting square tubing
One of the top support brackets
All the iron work is done
Hanging the parts for painting
The rods after they were painted
All the iron parts painted, dried and ready to install
The top bracket installed (with the neighbor's pool in the background)
Bottom front support with bearing installed
Bottom rear support with bearing installed
Ellie testing it out
Testing with the center insert removed
The girls enjoying "their" new swing
Tools:
Chop saw
Table saw
Drill press
Mig welder
Level
Measuring tape
Pencil
Drill
Nail gun
Jig saw
Angle grinder
Oxy/Acetylene torch
HVLP spray gun
Hand saw
Hammer
Plumb-bob
Wrench

Materials:
10-2x4-8ft
10-1x6-6ft
1-2x6-12ft
8 2" bearings
6ft of 3/16"x 2" flat iron
2ft of 3/8" x 2/8" square iron
24ft of 3/4" x 3/4" square tubing
4ft of 3/4" x 3/4" angle iron
16 metal washers
8 3/8" x 1-1/4" bolts with nylon locking nuts
8 joist hangers
Nails
Screws

Cost:
$135.00

Time:
10hrs

Savings:
$200.00 or more

Conclusion:
Love it. And my wife does too!

Fixing The Car Horn For Our PT Cruiser

Project:
Fixing the car horn on our PT Cruiser so it will pass inspection

Difficulty Level (Easy, Medium, Hard, Insane):
Easy

Process:
This little car has been amazing when it comes to reliability and reparis but I still actually hate it quite a bit. My wife loves it though and that's why we're keeping it.

In any case, the yearly inspection passed except for the horn which isn't working so I had one night to fix it. I figured it would be the little switches under the car horn because over the last year it has started to slowly go and become more intermittent until a few weeks ago when it completely gave out.

The first thing I had to do was disconnect the battery, take off the steering wheel air bag, then take out the horn switches. After some usage it looks like the horn buttons weren't making proper contact so I used a screwdriver to bend the contacts up a bit and re-installed the buttons (there were 4).

Unfortunately, it still didn't work, so I had to use my multi meter tool to trace the contacts. What I found was that there was a plug underneath the steering wheel that somehow didn't make proper contact so I had to bend those contacts with a little screw driver and then the multi meter showed proper continuity.

Unfortunately, that STILL didn't work, so off the front left wheel came (as per my repair manual's instructions) but I could not for the life of me find that stupid horn. Just out of curiosity I checked the other side of the vehicle and wouldn't you know it, there it was! No idea why they installed the horn on the right side instead of the left side.

Oh well! I stuck the multi meter into the two little plugs and had my son make contact by the horn buttons and the voltage promptly went up to 12V from 0. Great. Except, the horn still didn't work so I took it off and hooked it up directly to the battery and voila! It worked. What the heck? After I had a closer look at the contacts I saw that it was rather tarnished from general corrosion so after cleaning the plugs and all contacts IT WORKED!

After re-installing everything and driving around the block honking my horn (my neighbors were probably wondering what was going on) I parked the car in the garage.

The next day I drove by the shop where they inspected the horn and gave my sticker. Good for another year!

As a funny thing is that after work when I tried the horn again it stopped working again. Looks like I'm gonna have to do a little more cleaning and maybe I'll put some NOALOX on it...no rush though this time.

Pictures:

After the center part holding the airbag module was un-clipped
Close-up of the two air bag inflation plugs
There were four horn switches (2 black, 2 white) buttons under the center of the steering wheel
Testing the contacts & switches to find which part was causing the failure
The back of one of the switches
The inside of one of the 4 switches
After I bent the contacts up a bit
After the steering wheel was removed
Testing the cables inside the steering wheel to make sure they weren't the problem
Front right wheel well with the horn
Close-up of the horn with the two plugs that were corroded
Tools:
Phillips screwdriver
Torx screwdriver
Flat-head screwdriver
10mm wrench
Multi meter
Impact driver & socket
Wire brush
Work light

Materials:
None

Cost:
$0.00

Time:
2hr

Savings:
$250.00 (at least)

Conclusion:
Good for another year

Creating A Replacement Cap For Our Pool

Project:
Making a little plastic cap to keep the air in our small paddling pool

Difficulty Level (Easy, Medium, Hard, Insane):
Easy

Process:
It was July 1st and almost warm enough to put out the little paddling pool for the kids so I hauled out the air pump and got going just to realize that one of the 3 plugs that keeps the air in for the pool wall was missing. I tried a regular pop can cap but it was too big and no other bottle had a cap that was just the right size.

I realized I could probably just go to walmart and buy one for a couple of bucks but where would be the fun in that? So I hauled out the alginate and the two-component urethane casting resin (both from www.smooth-on.com) that I bought a couple of years ago after the Fix that wasn't fiasco.

The first step was to create a negative mold of the bottle cap using the alginate. Then, I had to mix the two components of the rubber and pour it into the cavity. An hour later it was de-mold time, clean up the edges and cap the pool

Pictures:
One of the other caps
Inside of cap
I used a piece of silicone gasket (red) to replace one of the missing stoppers
This is what it should look like
The rubber stopper that is still missing the screw-on cap
After I poured the alignate (the cap is at the bottom of the tin can)
The two urethane components before mixing
After I poured the urethane into the alginate mold
Second try as the first try didn't work out
After I de-molded the cured urethane
After it was cleaned up. It looks pretty ugly but it works
After I installed the cap on the pool
The pool all ready to be filled
Tools:
Belt sander
Knife
Screwdriver
Dental pick

Materials:
2 tbsp Alja-Safe Alginate
1/8 cup Smooth-Cast 380
Some tuck tape

Cost:
$0.00

Time:
1hr

Savings:
$2.50

Conclusion:
Works great. The air is holding.

Followers