Upgrading the zip line trolley to aluminum pulleys
Difficulty Level (Easy, Medium, Hard, Insane):
Medium
Process:
Version 1: store bought bushing-based pulleys
Version 2: castors turned on the lathe with ball bearings
Version 3: custom cast aluminum pulleys with ball bearings
The first version just wasn't rolling fast enough and since the kids wanted an awesome ride I had to do something about that. I figured if I used the vulcanized rubber castors and turned them in the Gingery Lathe it would be a bit quieter and give a nicer, smoother ride. It actually worked out quite well until last night when I decided to go down the zip line one last time before going in and I just destroyed the rear pulley.
I have gone on the zip line numerous times (and so have 5 neighbor parents) and I knew that it would eventually have to be replaced because the kids were wearing it down so when it finally died last night I figured I might as well get going.
The process was fairly straight forward but it was rather time consuming:
1. Create the wood pattern
2. Cast the parts in aluminum
3. Machine them on the lathe
4. Install
5. Enjoy
Videos:
Once they were installed:
Our neighbor came over with his GoPro so here are some more videos:
Zip Line à la GoPro
Pictures:
 |
| The arrangement of pulleys and guide rollers |
 |
| The finished (version 2) trolley |
 |
| After installing the (version 2) pulleys |
 |
| The pattern for the pulley. Note the thin rod is to make an imprint for the core, the larger knob on the left was only so that I could mount it on the lathe and the right, big part, was for the actual pulley |
 |
| Another angle |
 |
| The freshly made core |
 |
| I found that making 1/2" cores was really difficult because they kept breaking. The way to make it almost 100% successful is by putting a rolled up piece of paper between the core and the core box. |
 |
| The pattern in the sand mold |
 |
| The furnace going and the 3 mold boxes in the back |
 |
| Taking out one of the casts |
 |
| After it was cleaned up but still with the risers and runner attached |
 |
| Another angle. You can see the raw cast of the pulley at the left |
 |
| The last cast before shaking it out |
 |
| The pile of reclaimed green sand before stowing it away |
 |
| The raw cast mounted on the lathe |
 |
| Another angle |
 |
| After cleaning it up it turned out quite nicely |
 |
| Almost done with the groove of the pulley |
 |
| Parting off the pulley |
 |
| I made 3 casts, two are clean-turned, the third one is done |
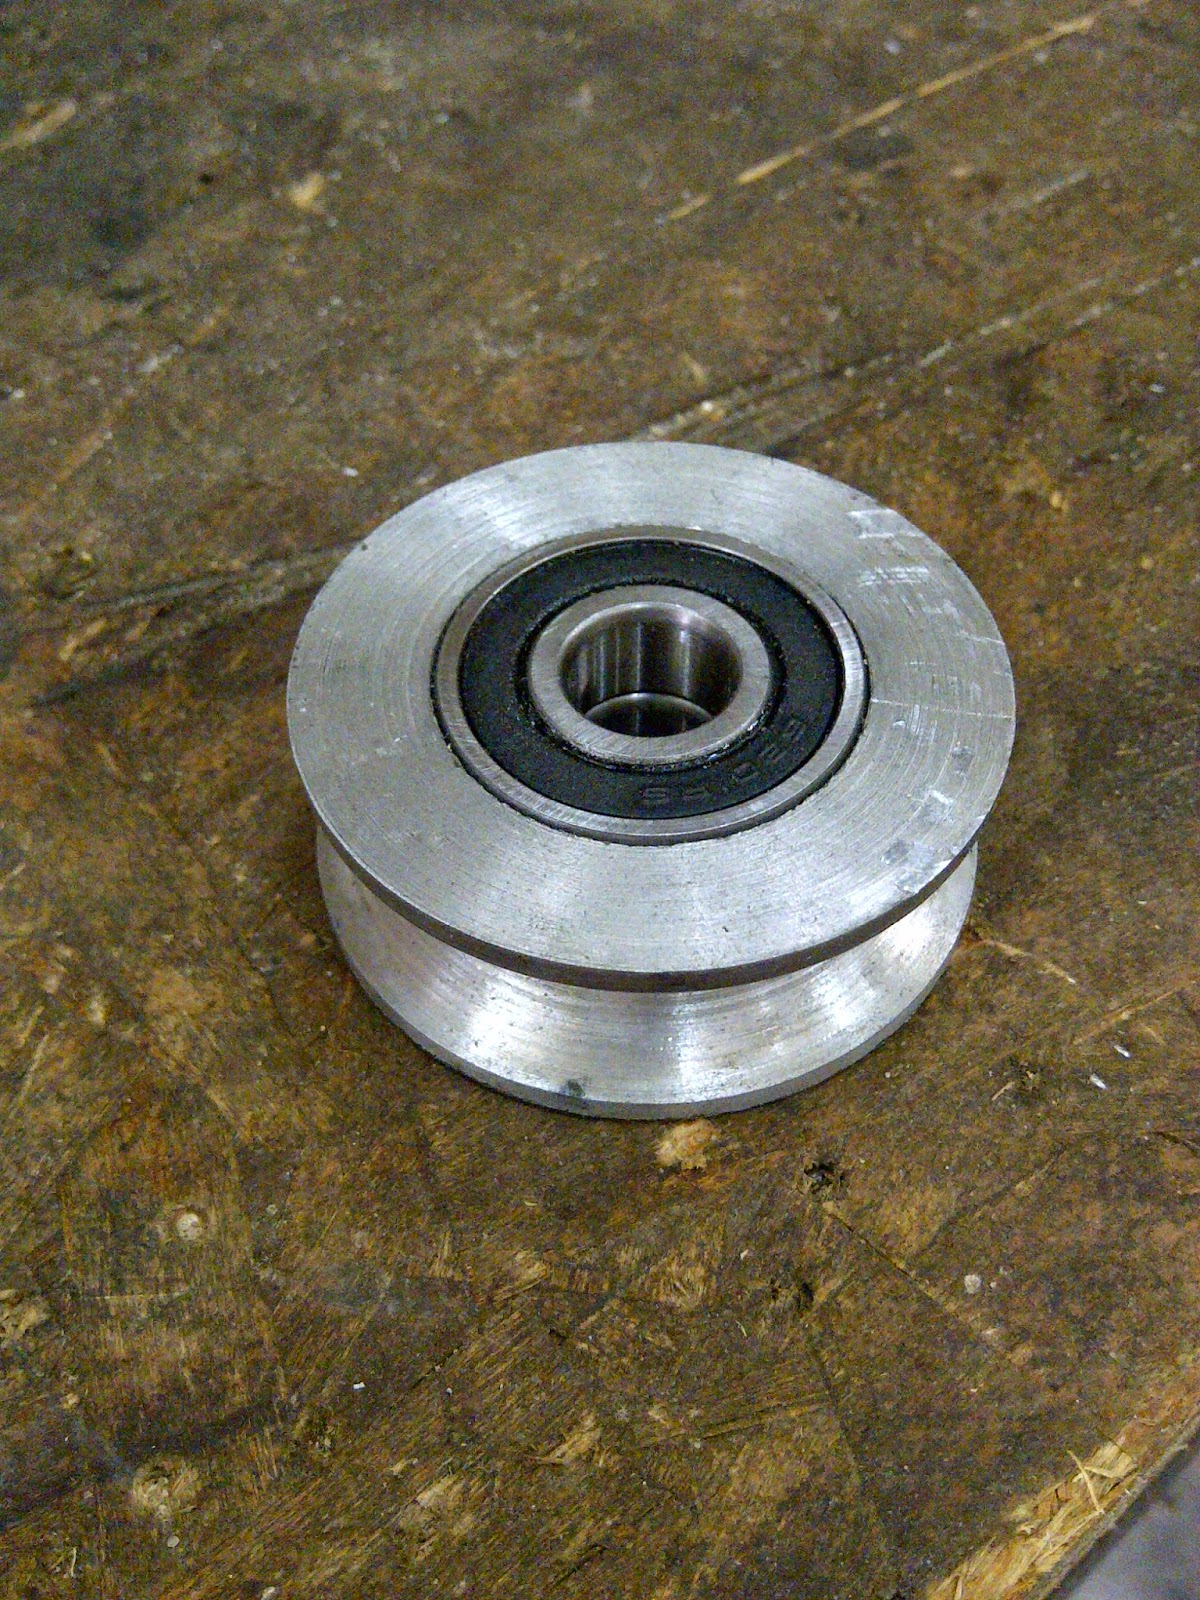 |
| Close-up of the finished pulley |
 |
| Another view |
 |
| The second pulley before cutting off the collar |
 |
| The drilled out pulley before reaming it |
 |
| The third pulley |
 |
| This is the second pulley that snapped when I tried to install the bearings with the vise. Note to self: Make sure you ream the hole big enough!!! |
Tools:
Ange grinder
Measuring tape
Pencil
Bench grinder
Drill press
Gingery Lathe
Bi-metal hole saw kit
Reamers
Vise
Socket set
Adjustable wrench
MIG welder
Home Foundry
Hack saw
Tap & Die set
Alan keys
Clamps
Broom
Materials:
3/16" metal for trolley sides
2 casters
12 washers
Nuts & bolts
Hook
Aluminum
Four 1.25" bearings
Cost:
About $20.00
Time:
15hrs
Savings:
$80.00
Conclusion:
The 3rd version pulleys are INCREDIBLY fast! The kids (and I) LOVE it!

0 comments:
Post a Comment